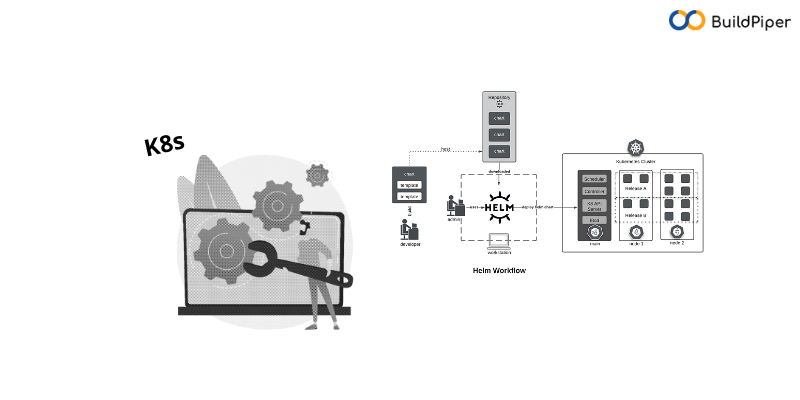
Continuing our discussion on Helm, Helm charts and the role of Helm in Kubernetes deployment, we’ll now talk about a newly added feature in BuildPiper: the Kubernetes & Microservices delivery platform. So here’s how you can replace the value of any key in manifest files through a few simple clicks.
In our previous blog: All About “Helm”- The Package Manager For Kubernetes!-Part 1, we talked about the need for a manifest file for deploying Kubernetes, the importance of Helm in Kubernetes, Helm charts and how they solve the issue of deploying multiple services. Also, we read about the Helm-Based Definition and multiple ways to assign a value which include, Replacing Helm Values & Helm Externalized Variable.
Here, in this blog, we’ll talk about a newly added feature in BuildPiper that helps in resolving the issue of updating placeholder values for multiple manifest files.
So, Let’s Begin!
Auto Replacement of Manifest Placeholders
Replace the value of any key in your manifest from BuildPiper UI. Here’s how!
With the newly added feature in the Microservices & DevSecOps platform- BuildPiper, users can replace the value of any key in their manifest files. The UI interface supports the auto-replacement of the manifest file placeholders. Now, there is no need for the DevOps team to put in arduous manual efforts for changing the key value in each and every manifest file during the deployment process.
Let’s consider this example of a deployment YAML file given below, wherein the paths of the placeholder values have been specified.
For example: Here, metadata.name is nginx-deployment and metadata.namespace is qa.
Now, if there are multiple services, then there would be multiple manifest files which will have different placeholder values. Changing the value of these for all manifest files manually can be a time-consuming task. The problem can be resolved if this can be automated and implemented in a procedural manner. A newly added feature in BuildPiper provides an automated way to replace the manifest placeholder values. Let’s take a look!
apiVersion: apps/v1
kind: Deployment
metadata:
name: nginx-deployment
namespace: qa
labels:
app: nginx
spec:
replicas: 3
selector:
matchLabels:
app: nginx
template:
metadata:
labels:
app: nginx
spec:
containers:
– name: nginx
image: nginx:1.14.2
ports:
– containerPort: 80
Deployment.yaml
[Good Read: What are Helm Charts?]
Here are detailed steps for updating the placeholder value in the manifest file.
Step1: Enter the credentials including the email and password or sign in via GitHub,
GitLab, Google, BitBucket and Microsoft account.
Step2: Once logged in, users will land on the BuildPiper dashboard from where they can select “Manifest Placeholder”.
Step3: Here, you can Add Manifest Placeholder.

Step4: Specify the Manifest kind or choose the custom value in any case you have to select the manifest.
Step5: Define the complete placeholder path for which you wish to replace or change the value.
Step6: Mention the Placeholder value of your choice or choose a custom value.
Step7: Finally, click Save to continue and to auto-replace the placeholder value.
BuildPiper Options
BuildPiper allows users to assign values to the placeholder by choosing,
– Dynamic Variables
– Static Variables
Dynamic Variables
Dynamic variables are the ones whose values change according to the environment. Users can select from the list of dynamic variables shown below in the figure.
Example: For instance, if the user chooses namespace, then the placeholder values will change according to the environment in which the pods are being deployed.
apiVersion: v1
kind: ConfigMap
metadata:
name: {{ .Release.Name }}-configmap
namespace: test
data:
myvalue: “Hello World”
drink: {{ .Values.favoriteDrink }}
List of Dynamic Variables
Here is the list of dynamic variables that users can choose for assigning values to the placeholder.

Static Variables
Users can specify the static variables if they want the placeholder values to remain the same. These do not change with respect to the environment.
Example: For instance, if the user specifies the container image as a static variable, then the container name and the container image consisting of the Container Name( nginx) & Image tag(1.14.2) remain the same, no matter which environment the pods are being deployed to.
apiVersion: apps/v1
kind: Deployment
metadata:
name: nginx-deployment
namespace: qa
labels:
app: nginx
spec:
replicas: 3
selector:
matchLabels:
app: nginx
template:
metadata:
labels:
app: nginx
spec:
containers:
– name: nginx
image: nginx:1.14.2
ports
– containerPort: 80
Deployment.yaml
Other Benefits
Additional value that BuildPiper brings in enabling businesses to thrive and grow,
- Increased Developer Productivity by up to 40
- Day 1 Readiness for Production Release
- Multi/Hybrid Cloud fully automated Solution
- Security & Compliance embedded in the design
- Zero Touch Seamless Build & Delivery Pipelines
So, here we sum it ALL!
In these two blogs on Helm, we’ve talked a lot about the real Helm meaning, the role of Helm in Kubernetes, Helm charts, why Helm is called the Package manager of Kubernetes and much more. Here’s a brief summary of what all we’ve talked about in these blogs.
– What is a manifest file?
– Why is a manifest file needed for deploying Kubernetes?
– BuildPiper’s Approach to configure Deploy Details
– The Complex Case of Deploying Multiple Services
– Helm meaning and Role of Helm in Kubernetes
– What are Helm Charts?
– Helm-Based Definition: An approach to configuring Deploy details
– Multiple Ways to Assign a Value: Replacing Helm Values & Helm Externalized Variable
– Auto Replacement of Manifest Placeholders: A newly added feature in BuildPiper
Consult our tech experts who have helped some of the largest companies with their container adoption strategies and services to bridge skills gaps and expertise. If you have any queries related to Helm chart multiple deployments, deploying a Helm chart on Kubernetes or any Kubernetes questions, feel free to contact us!


